
Soap Making for Beginners: A Simple Step-by-Step Guide

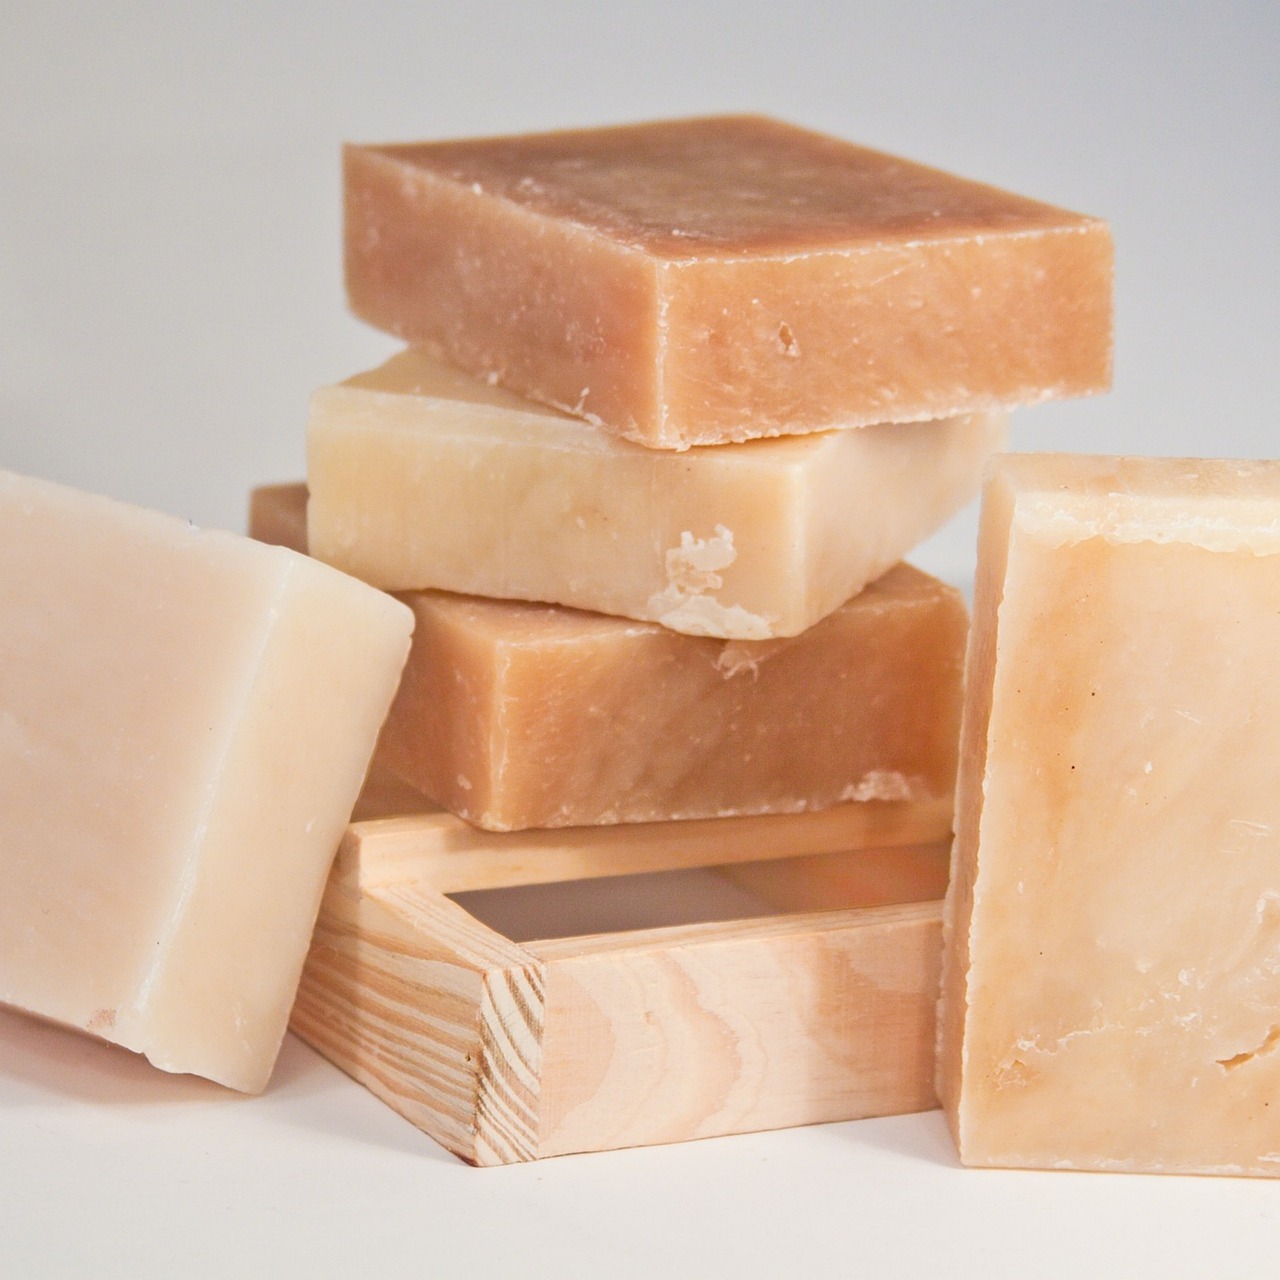
Making your own soap is creative, satisfying, and easier than you might think — especially with the melt-and-pour method, which skips the handling of lye entirely. Here’s a beginner-friendly guide to making your first bar.
Why Start With Melt-and-Pour?
Melt-and-pour soap uses a ready-made base, so there’s no working with lye and no long cure time. It’s the safest, simplest way for beginners to start — just melt, customise, and pour.
What You’ll Need
- Soap base — clear or white melt-and-pour base.
- Skin-safe fragrance or essential oil.
- Cosmetic colourants — for colour.
- Soap moulds.
- A microwave or double boiler, and rubbing alcohol in a spray bottle.
Make Your First Soap in 6 Steps
- Cut and melt the base. Chop into cubes and melt gently until liquid.
- Add colour. Stir in a few drops of cosmetic colourant.
- Add fragrance. Mix in skin-safe fragrance at the recommended amount.
- Pour into moulds. Pour slowly to avoid bubbles.
- Spritz with alcohol. A quick spray removes surface bubbles.
- Cool and unmould. Let it set fully, then pop out your finished soap.
Beginner Tips
- Don’t overheat the base — melt gently to keep it clear.
- Use only skin-safe, cosmetic-grade fragrances and colours.
- Wrap finished soap to protect it from humidity and sweating.
Ready to make your first bar? Explore beginner-friendly melt-and-pour bases and supplies at Pelveraterrace.shop — free delivery across India, with 7-day returns.